¶ Raith Picomaster 100
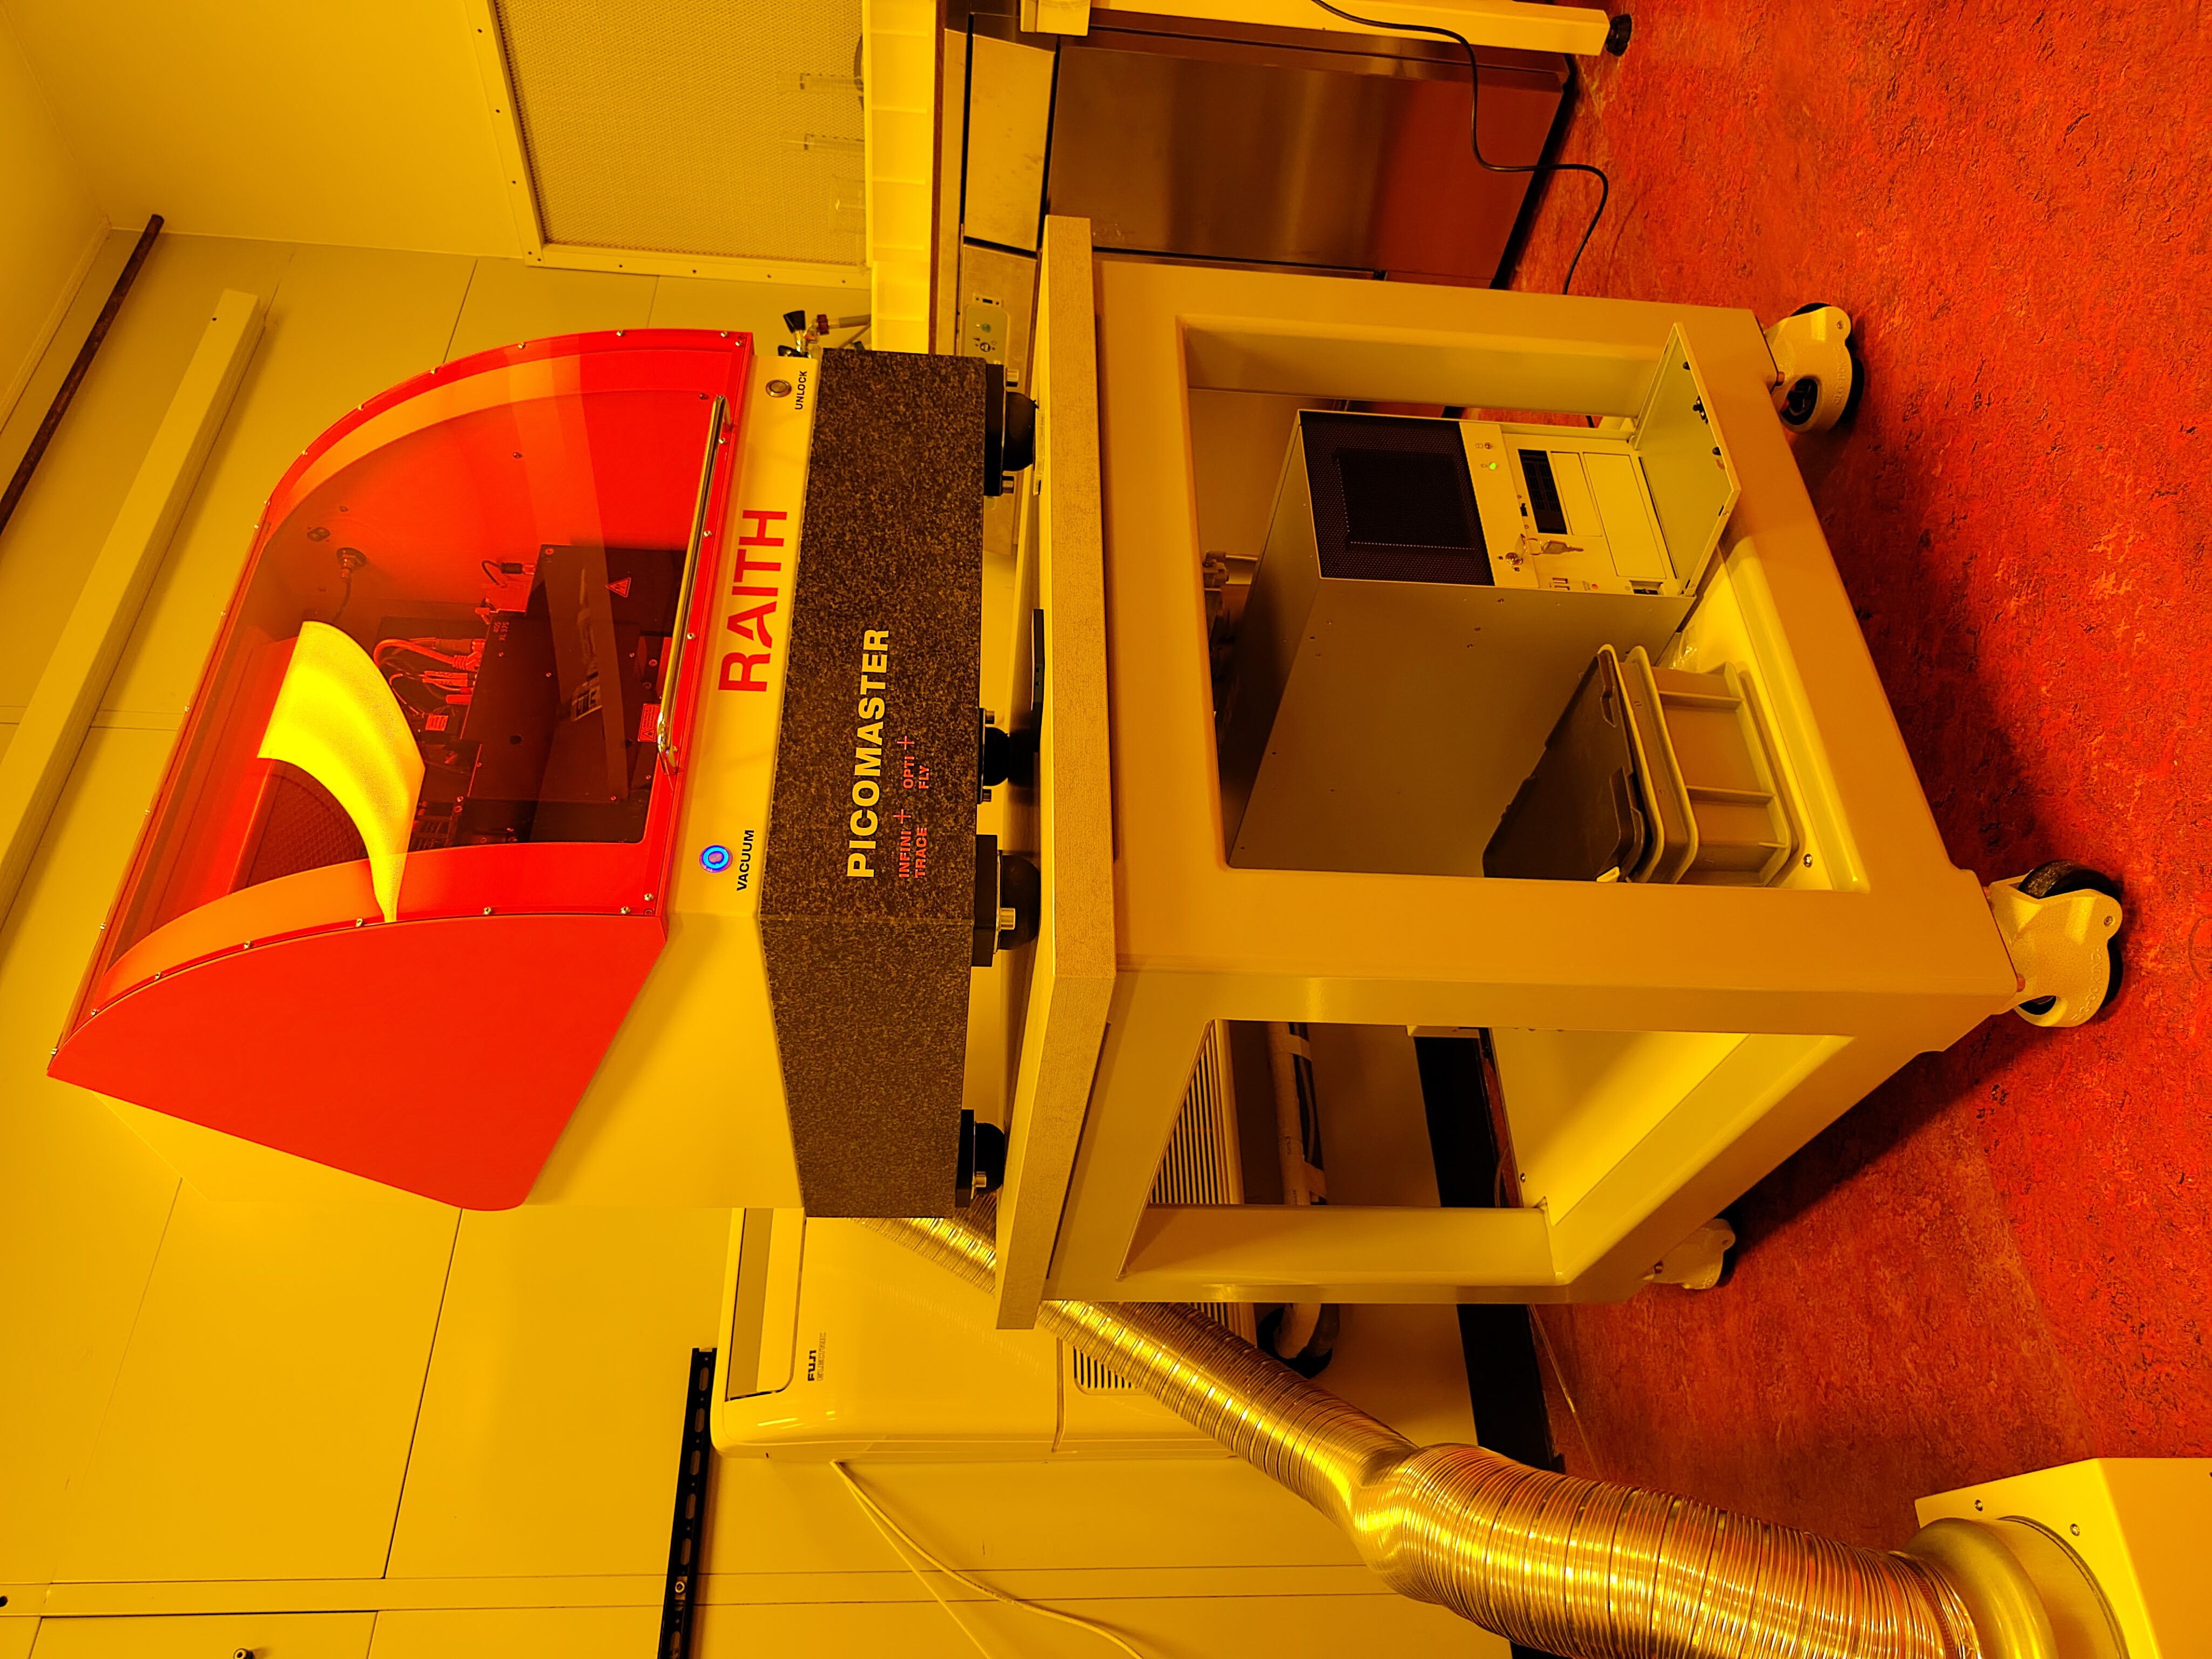
| Location | Cleanroom (HL612) |
|---|---|
| Functions | Laser lithography (375 and 405 nm) |
| Specimen | 4'' wafers up to ~4x4 mm samples, standard wafer thickness |
| Manufacturer | Raith |
| Responsible | Luc Wigbout |
¶ Manual
- Open the
Maintenancein the top-menu, and open theFocusside-menu. - Press "On" to turn motorized Z-adj on.
The Writing Module (WM) should be high enough, so make sure the Z-axis value is large value. If you don't know what value, set it to 8 mm.
Make sure that the WM is high enough, otherwise the WM will crash into your sample, breaking your sample and possibly breaking the equipment.
- Press
Go to target.
Put the WM above the sample and make sure that the laser is aligned.
- Go to
Maintenance>Motion: (Put WM above the sample) Go to center substrate- Back in
Maintenance>Focus, pressWobbleto turn on the red laser! You can see the relatively large red spot illuminating the sample stage. - Look at the sample stage and jog the step and scan axis until you are certain the laser and sample are aligned.
If you can't see the laser spot properly, try to increase the Z-height.
Now, we will make sure that the WM is focused properly such that the four photodiodes measure similar value.
-
Go to
Maintenance>Focus -
Make sure to have pressed
Wobbleto make sure that the laser is on and the WM is modulated along the Z-axis. This means that the graph should update continuously. -
Jog downward until noise on yellow / green / blue lines decreases significantly!
-
When so, continue approaching with " fine steps" until the blue line looks like Batman.
-
When 'Batman' is present, adjust the
Target Powersuch that the red line sits at 4 or 5 Volt, pressSaveif possible, otherwise, remember the laser power value.
Go to Settings > Substrates
-
Select recipe corresponding to your sample type.
-
Press "Stop" (right) to stop the mototrs
-
Press "Scan contour"
-
Set 'Start location' to "Custom location"
-
Press the [square with circle inside] button in the center of the jog-arrows
-
Change exposure time such that its not overexposed
Note: reaction time is SLOW.
-
Jog (with the arrows) to an edge of your sample.
-
Press
Start -
Confirm that the processed image has found the edge of the sample
-
Press
Save -
Press
Adjust WM height -
Set exposure subtrate height; it should be ~2.0 mm for most of our use cases.
-
Press
Start, wait, and confirm if the value makes sense.
Go to Settings > Exposure
- Select recipe corresponding to your resist/substrate stack (watch out for variations in resist thickness!)
- Make sure the exposure dose is correct! (This should be the maximum exposure within your project!)
- Make sure the Focus Offset is correct!
- Make sure to select the adequate spot size!
- Step size ~1/2 spot size, ideally 1/3 spot size.
- Auto attenuation
On.
Open Projects
- Open the to-be-exposed pattern file, and press
Start.
¶ Questions
- If the DOF is several um's for the biggest aperture (using a 0.3 um basic spot size, the spot size can become 0.9 um, with a DOF of 4.6 um; and using a 0.8 um basic spot size, this is 2.5 um, with a DOF of 49 um), would that mean that, if you use significantly thin resist stacks, no focus offset adjustment is even necessary?
- If I use a dose of 40 mJ/cm2 for a 300 nm spot size, and I move to a 900 nm spot size, the ratio between spot sizes is 3, if I use the same laser power (i.e. a same required power Preq and attenuation value; ) for both exposures, either the or the should be multiplied by a factor of 1/3. Since the (vertical direction) is always the same, I would decrease the by 1/3?